How to Fix a Water Turn Off Valve for Better Plumbing Performance?

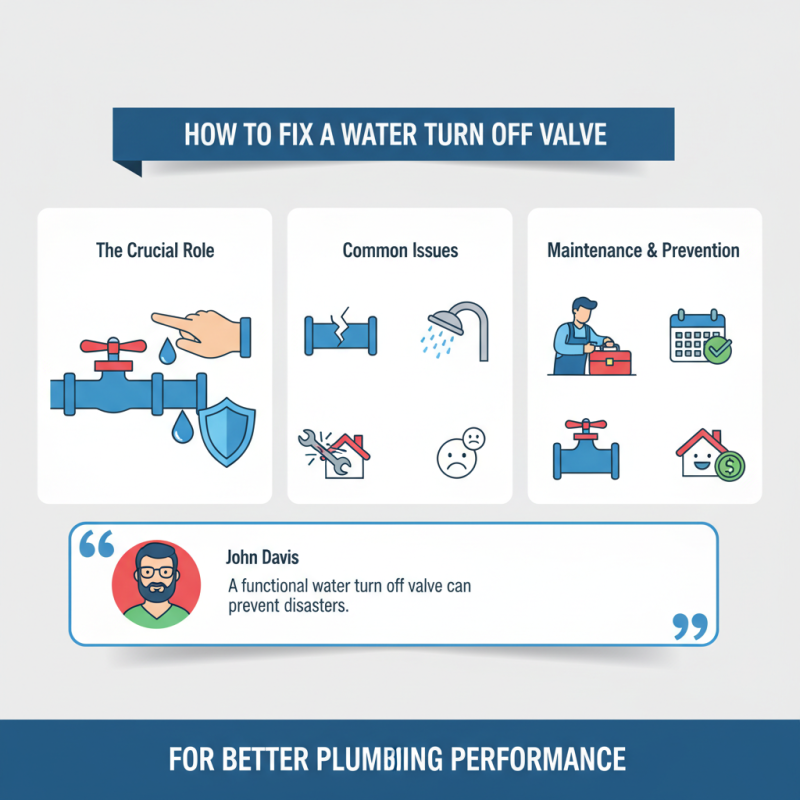
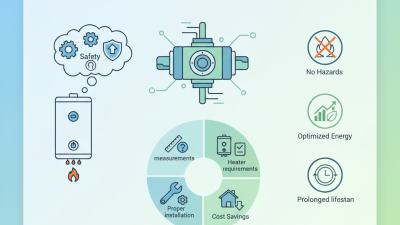
In the realm of plumbing, the "water turn off valve" plays a pivotal role. Experts like John Davis, a renowned plumbing specialist, emphasize, "A functional water turn off valve can prevent disasters." This valve controls water flow. If it malfunctions, it can lead to leaks and costly repairs.

Many homeowners overlook the importance of this valve. A small issue can escalate quickly. It might seem insignificant, but a faulty valve can disrupt your entire system. You might experience low water pressure too.

Regular maintenance is often neglected. Just like any other plumbing component, a water turn off valve needs attention. Ignoring its condition can lead to bigger problems down the line. Taking the time to fix or replace it can save you headaches later.

How to Fix a Water Turn Off Valve for Better Plumbing Performance?

Understanding the Function of a Water Turn Off Valve in Plumbing

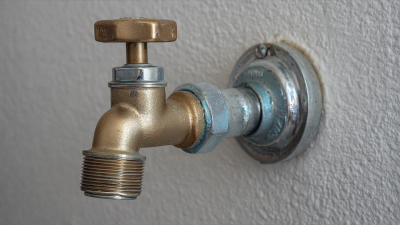
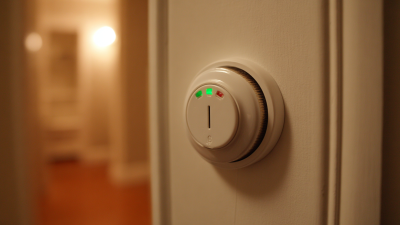
A water turn off valve is essential in plumbing. It controls water flow in your home. When something goes wrong, knowing how it works helps you fix issues quickly. This valve is typically located near the water meter or at the base of appliances. Understanding its position can save you from water damage.

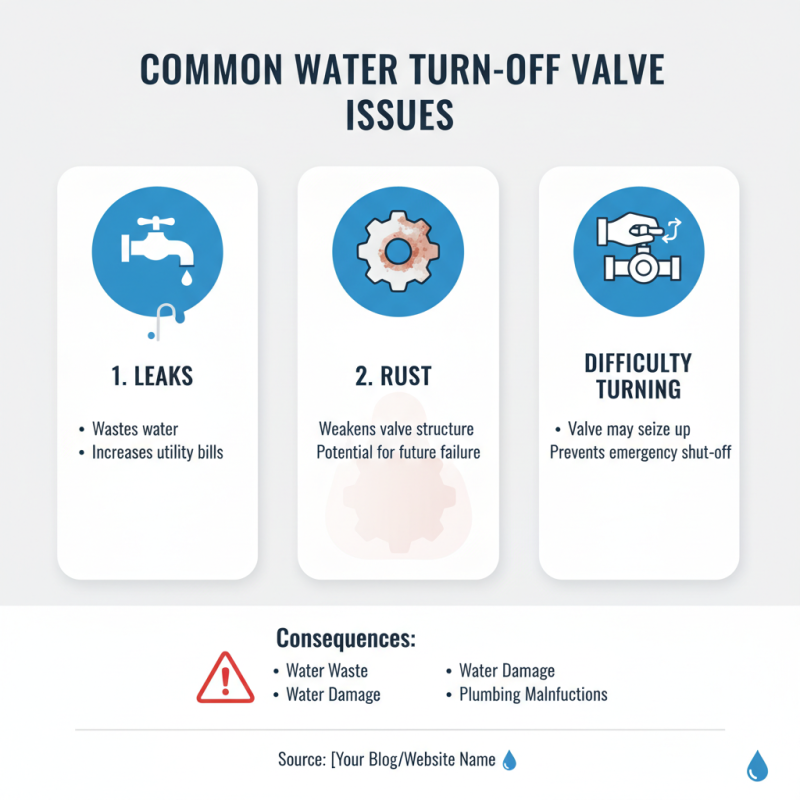
The main function of a turn off valve is to stop water flow. This is crucial during repairs. A malfunctioning valve can lead to leaks or flooding. Sometimes, these valves become stuck or corroded. It's frustrating when you need to turn off the water, but the valve won’t budge. Regular maintenance can prevent this. Check it periodically for signs of wear.

You might notice rust or mineral buildup over time. Cleaning the valve can help restore function. If this doesn’t work, replacement might be necessary. Always consider your ability to tackle repairs. It’s okay to ask for help if you're unsure. A faulty valve can impact your plumbing efficiency. Remember, prevention is easier than fixing a flood.

Common Issues with Water Turn Off Valves and Their Impact on Performance

How to Fix a Water Turn Off Valve for Better Plumbing Performance?

Water turn off valves can face various issues that impact plumbing performance. Common problems include leaks, rust, and difficulty turning the valve. Each of these issues can lead to water waste or even water damage if not addressed properly. A leaky valve not only wastes water but also increases your utility bill. Rust can weaken the structure, causing future failures.

To improve the performance of a water turn off valve, regular maintenance is key. Check for any visible leaks or corrosion. If you spot rust, consider replacing the valve altogether. It’s essential to ensure the valve can turn easily. If it sticks, use a lubricant designed for plumbing.

For extra care, turn the valve occasionally, even if not in use. This prevents it from getting stuck in place. Tighten any loose fittings to avoid leaks. Always inspect your plumbing system during seasonal changes. Regular maintenance saves money and prevents major repairs. Addressing these common issues goes a long way in enhancing plumbing reliability.

Tools and Materials Needed for Repairing a Water Turn Off Valve

Repairing a water turn off valve can seem challenging. However, having the right tools and materials simplifies the process. Start with a basic toolkit that includes a wrench, screwdrivers, and pliers. These tools help you access and adjust various parts of the valve.

You might also need replacement washers or O-rings. These small pieces often wear out over time. A bucket will be useful to catch any excess water. Don't forget to grab some plumber's tape. It's essential for sealing connections tightly.

Remember, while gathering materials is important, some tools may already be in your home. Check your garage or toolbox first. It's okay if you miss a few items initially. This repair can be a learning experience. You’ll likely encounter unexpected challenges. Embrace those moments; they help improve your skills.

Step-by-Step Guide to Fixing Your Water Turn Off Valve

Fixing a water turn off valve is essential for optimal plumbing performance. Start by turning off the main water supply. Use a wrench to loosen the packing nut if the valve leaks. This straightforward step may seem simple, yet it often requires a firm grip and patience. Once loosened, pull up the handle gently. If it feels stuck, avoid forcing it.

Next, inspect the washer inside. Over time, washers can deteriorate or become dislodged. Replace it with a new one. This piece may seem small, but it plays a big role. After replacing the washer, reassemble the valve. Ensure the packing nut is snug but not overly tight. Check for leaks by turning the water supply back on.

Remember, not every valve is easy to fix. Sometimes, the valve might be too corroded or damaged. If you feel uncertain, consider asking for help. It’s important to reflect: do you have the right tools? Each step can lead to better plumbing, but mishaps can occur. Stay mindful of your surroundings, and address any challenges as they come.

How to Fix a Water Turn Off Valve for Better Plumbing Performance?

Step Action Tools Required Estimated Time
1 Turn Off Main Water Supply None 5 minutes
2 Inspect the Valve for Damage Flashlight 10 minutes
3 Clean the Valve Area Wrench, Cloth 15 minutes
4 Apply Lubricant to Valve Lubricant, Brush 5 minutes
5 Test the Valve Operation None 5 minutes
6 Monitor for Leaks None Ongoing

Preventive Maintenance Tips for Long-Lasting Valve Performance

Regular maintenance of your water turn-off valve is crucial for optimal plumbing performance. According to a 2022 study by the Plumbing Manufacturers International, over 20% of homeowners experience issues associated with faulty valves. A small leak can lead to significant water waste, estimated at 10,000 gallons per year, impacting both your water bill and the environment.

One essential tip is to check for signs of wear. Look for rust or corrosion on the valve. These could be indicators of potential failure. If the valve feels hard to turn, it may need lubrication. Use a silicone-based lubricant to ease operation. This can prevent future complications.

Another helpful tip involves regular inspection. Conduct this at least once a year. Tightening any loose fittings can prevent leaks. Don't assume everything is fine just because there are no visible issues. Check slow drains and damp spots in your home; they often indicate underlying plumbing problems. A proactive approach can save you from costly repairs later.

Water Turn Off Valve Maintenance Performance

AVADA IT

Fusce ut ipsum tincidunt, porta nisl sollicitudin, vulputate nunc. Cras commodo leo ac nunc convallis ets efficitur.

RECENT TWEETS

CONTACT US

  • 12345 North Main Street,
    New York, NY 555555

  • 1.800.555.6789

  • sale@vibrotools.com

Go to Top