How to Turn Off a Water Shut Off Valve?
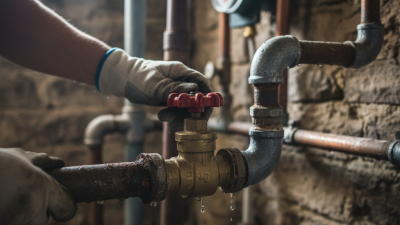
Knowing how to turn off a water shut off valve can limit damage when a pipe leaks, a toilet supply line fails, or a faucet needs repair. The valve may sit beneath a sink, behind a toilet, near a water heater, or beside the main water line. Find it before an emergency. A flashlight, dry hands, and a clear path make the job safer and easier.
Plumbing expert Richard Trethewey is known for explaining home plumbing on This Old House. A practical reminder for this guide is: “Turn the valve gently, and stop if it resists.” This is a safety-focused summary, not a verified quotation from Trethewey. Most shutoff valves close by turning a handle clockwise, but quarter-turn levers work differently: turn the lever until it sits across the pipe. Never force a corroded or stuck valve. A sudden twist can break it and send water across the floor.
This guide will show how to identify common valve types, shut off water carefully, and check whether the flow has stopped. It will also explain what to do when the valve will not move. Take your time. A small caution matters. If water continues running, the valve leaks, or you cannot locate the correct control, contact a licensed plumber. Knowing the location and condition of your water turn off valve before trouble starts can save time, reduce mess, and help you make a calmer repair decision.
What a Water Shut-Off Valve Does and Where to Find It
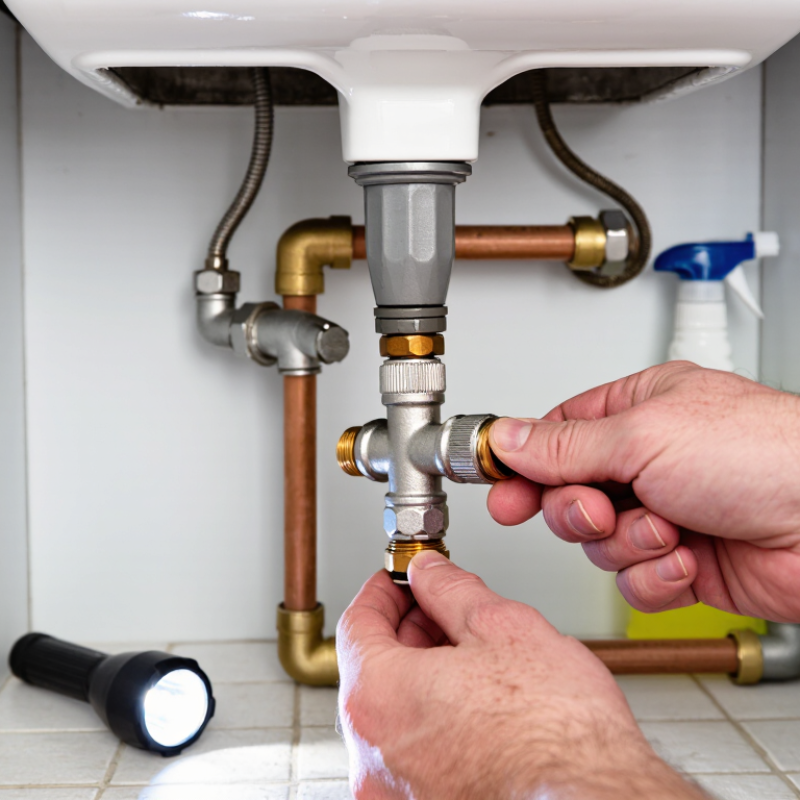
A water shut-off valve controls the flow of water into a home or a single fixture. It can stop flooding quickly during a burst pipe, leaking hose, or repair. Most homes have a main valve and several smaller fixture valves. The main valve is often near the water meter, basement wall, utility room, or crawl-space entrance. In homes built on concrete slabs, check a garage, hallway closet, or exterior wall facing the street. Sink valves usually sit beneath the cabinet, while toilet valves are behind or beside the tank. Washing-machine valves are normally mounted on the wall above the connections. I once searched an entire basement before noticing the main valve behind a removable panel. Locations are not always obvious.
Before turning off a valve, move stored items away from it and place a bucket nearby. Turn a round handle clockwise, using steady pressure. A lever usually closes when it sits across the pipe. Do not force a corroded handle. It may break and create a larger leak. After closing the valve, open a cold faucet and watch the water pressure fall. Check the leaking fixture again. If water keeps flowing strongly, another valve may control that section. Some older valves close slowly or fail internally. That is easy to miss. A licensed plumber can replace a damaged valve safely, especially when the main supply cannot be isolated.
How to Identify the Valve Type and Check the Area
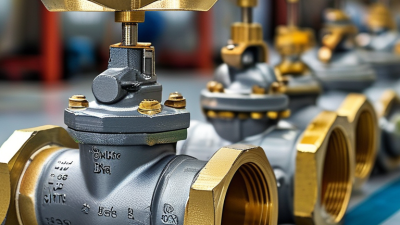
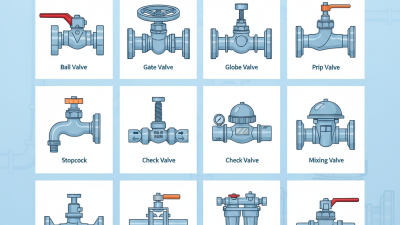
Before turning off a water shutoff valve, identify its type and location. A ball valve usually has a straight lever and closes with a quarter turn. A gate valve has a round wheel and may require several turns. Under a sink, an angle-stop valve often connects the wall pipe to the supply hose. I once mistook a stiff gate valve for a broken valve. That assumption could have caused damage.
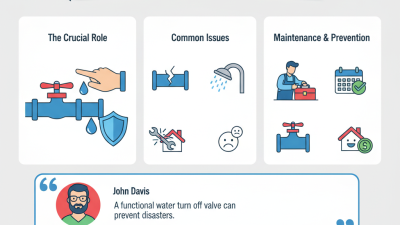
Check the surrounding area carefully. Look for moisture, green corrosion, cracked fittings, or mineral deposits near the handle and joints. Trace the pipe toward the fixture, then confirm which side of the valve controls the water. The U.S. Environmental Protection Agency reports that household leaks can waste more than 9,000 gallons annually in one home. A slow valve leak still matters. The agency also notes that about 10% of homes have leaks wasting at least 90 gallons daily.
Clear stored items before reaching the valve. Keep a bucket and cloth nearby. Do not force a frozen handle. Try a gentle movement and observe the pipe for shifting. If the valve sits near the water meter or outside the property, check local access rules before touching it. Utility-controlled curb valves may require authorized service. Take a photo before changing anything. It helps when the valve type remains uncertain.
How to Turn Off a Water Shut-Off Valve? How to Identify the Valve Type and Check the Area
For quarter-turn valves, the handle is typically parallel to the pipe when open and perpendicular to the pipe when closed. Gate and globe valves use a wheel and require multiple turns, so their final handle position is not represented by a fixed angle.
How to use this chart: First identify the handle style. If the valve has a lever, rotate it 90 degrees until it is perpendicular to the pipe. If it has a wheel, turn it clockwise slowly until it stops. Check the nearby fixture afterward to confirm that the water has stopped.
How to Shut Off an Individual Fixture Valve
How to Turn Off a Water Shut Off Valve?
When a sink, toilet, or washing machine needs repair, shut off its individual fixture valve first. Look beneath the sink or behind the toilet. The valve usually connects the wall pipe to a flexible supply line. Place a towel and small bucket underneath. Small drips can appear unexpectedly.
Turn a round handle clockwise until it stops. For a lever-style valve, rotate the handle one-quarter turn until it sits across the pipe. Do not force it. A stiff valve may have corrosion or damaged internal parts. Forcing it can cause a leak at the connection. Close the valve slowly, then open the fixture tap or flush the toilet. Water should stop within a few seconds. Some water may remain in the line.
Check the valve and fittings for fresh moisture. I once assumed a closed valve had stopped everything, but a slow trickle continued from an aging supply line. That mistake made the repair messier. If water keeps flowing, close the home’s main shutoff valve and arrange qualified plumbing assistance. Do not remove the valve while the line remains pressurized. After the repair, reopen the fixture valve slowly. Watch the connection for several minutes. A dry paper towel can reveal a tiny leak better than sight alone. Old valves deserve extra patience.
How to Confirm the Water Is Off and Address Common Issues
How to Turn Off a Water Shut Off Valve?
How to Confirm the Water Is Off and Address Common Issues
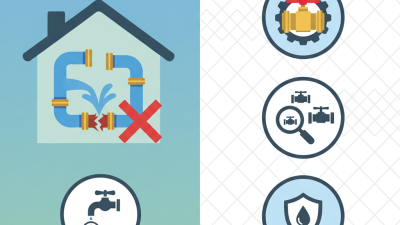
Turn the valve clockwise until it stops gently. A lever valve usually closes when its handle sits across the pipe. Do not force it. Old valves can break internally, even when the handle feels solid.
Now open the nearest cold-water faucet. Water may run for several seconds as pressure leaves the pipe. Then check the flow. A few drops are normal at first, but a steady stream means water is still entering the line. Check the toilet, washing machine connection, and other nearby fixtures. I once assumed one valve controlled the whole room. It did not. Many homes have separate branch valves.
If the handle will not move, avoid pliers or sudden pressure. Corrosion may damage the stem or packing seal. Try turning it slowly by hand, then stop if the pipe twists or the valve begins leaking. Water around the stem can indicate a loose packing nut, while water from the joint may require immediate professional repair. If the water remains on, locate the main shutoff and test a faucet again. Some systems also need a short drain-down period. Take a photograph before removing anything. It helps document the valve position and exposes details you might otherwise miss.