How to Install a Gas Valve Safely in 2026?
Installing a gas valve is not a casual repair. It controls fuel flow, pressure, and household safety. A small mistake can create an invisible danger. This guide explains gas valve installation with practical care, clear checks, and realistic limits.
Licensed gasfitter and safety educator David Federico states, “A gas valve is safe only when every connection is tested, never simply tightened.” That principle shapes this article. Before touching a valve, confirm the fuel type, appliance instructions, pipe size, and local requirements. Shut off the supply. Ventilate the work area. Keep flames, switches, and sparks away.
The installation area should be clean and accessible. The valve must match the appliance and gas service. Threads should remain undamaged. Connections need suitable, approved sealing materials. Never force a fitting into alignment. That shortcut can stress the pipe and damage internal parts.
After installation, a qualified professional should perform a pressure and leak test. Never use a match or lighter. A manufacturer-approved leak detection solution is safer. Watch for bubbles around every joint. Also check the valve handle, appliance operation, and surrounding air. A gas odor demands immediate caution: leave the area, avoid electrical controls, and contact the local emergency gas service.
Some homeowners may feel confident with tools. That confidence can be misleading. Gas work requires training, calibrated equipment, and knowledge of local rules. The safest gas valve installation is one that protects people before it protects a schedule. Mistakes deserve review, not concealment.
Gas Valve Types, Components, and Installation Requirements
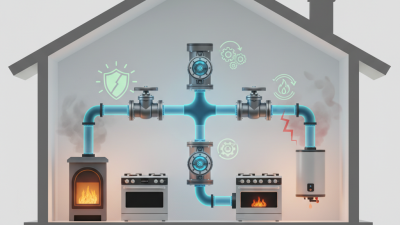
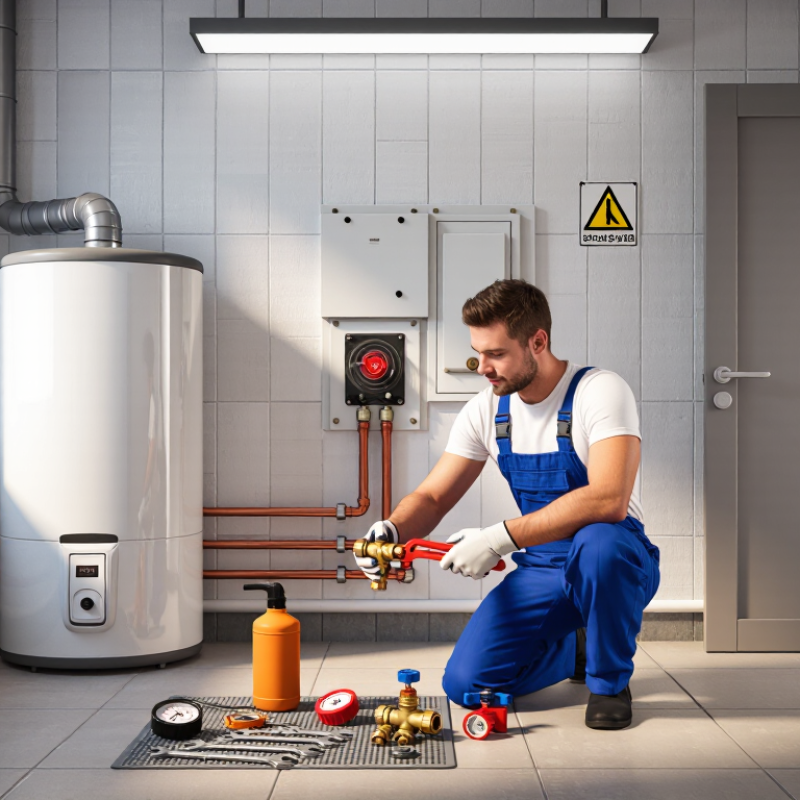
A gas valve is not a single universal part. Ball valves usually isolate the supply line, while appliance control valves regulate gas entering a burner. A regulator may reduce inlet pressure, and a sediment trap can catch rust or debris before it reaches sensitive components. EIA’s 2020 Residential Energy Consumption Survey found that natural gas supplied primary space heating for about 47% of U.S. homes. That scale makes correct valve selection more than a maintenance detail.
The valve must match the fuel, pressure rating, pipe size, temperature range, and connection type. Its arrow should follow gas flow, and its handle must remain accessible after installation. NFPA 54, 2024 edition, and the 2024 International Fuel Gas Code require approved components, proper shutoff access, and leak testing after assembly. A qualified gas professional should verify pipe support, regulator venting, appliance clearance, and combustion-air provisions. Never rely on thread sealant to correct damaged threads.
The practical test is simple, but it is not casual.
The technician isolates the supply, checks fittings with an approved leak-detection method, restores pressure gradually, and confirms stable burner operation. A flame that lifts, flickers, or burns yellow needs investigation. I would not accept a valve that is technically correct but hidden behind a cabinet panel. That mistake is easy to make. It also makes emergency isolation slower. Local inspection rules can add requirements, so the installation plan should be reviewed before tools come out.
How to Shut Off Gas and Prepare the Installation Area
Before installing a gas valve, confirm that a qualified, licensed technician will perform the work. Gas systems require careful handling, and local regulations may require inspection. Locate the appliance shutoff valve and the main gas supply valve. Turn the handle clockwise until it sits crosswise to the pipe. Never force a stiff valve. If no valve operates smoothly, stop and request professional service.
Keep flames, cigarettes, sparks, and running engines away from the area. Do not switch electrical devices on or off if you smell gas. Leave the building and contact the local emergency gas service from a safe location. A gas odor is not a minor warning. It may indicate a dangerous leak.
Open doors and windows only if you can do so without creating sparks. Clear the workspace of paper, solvents, clutter, and loose clothing. Allow the appliance and nearby pipework to cool completely. Place a flashlight, adjustable wrench, approved leak-detection solution, and clean cloth nearby. Do not use an open flame to test connections.
Check the pipe size, valve type, thread condition, and installation instructions before work begins. Cover exposed surfaces to prevent scratches. A common mistake is assuming the appliance valve stopped every gas source; verify the main supply is also closed when required. If the location, piping, or valve condition seems uncertain, pause and obtain an on-site assessment. Good preparation feels slow, but rushing creates risks that are difficult to reverse.
How to Install a Gas Valve Safely in 2026? – How to Shut Off Gas and Prepare the Installation Area
Safety note: Gas valve work should be performed by a licensed or qualified gas professional. Follow local codes, manufacturer instructions, and permit requirements. If you smell gas, leave the area immediately and contact the emergency gas service.
Safe Pre-Installation Sequence
The chart shows the recommended order of the main safety actions before gas valve installation. The numbers represent sequence position, not a measurement of risk or installation time.
How to Remove the Existing Valve and Check Pipe Connections
How to Install a Gas Valve Safely in 2026?
Removing an existing gas valve demands patience and professional judgment. Turn off the gas supply at the approved isolation point. Open nearby windows and doors. Keep flames, switches, and electrical tools away from the area. A licensed gas professional should confirm the line is depressurized with a suitable test instrument. Never rely only on the valve handle position.
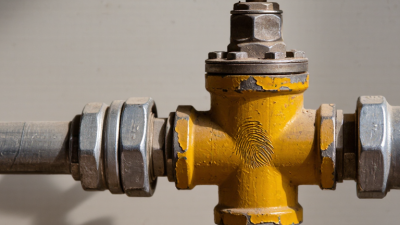
Support the pipe with one wrench while loosening the valve with another. This prevents twisting hidden pipework inside the wall. Remove the valve slowly and inspect the exposed threads. Look for rust, flattened threads, old sealant, or moisture. A clean connection should feel firm, not brittle. I have learned that a valve can look acceptable while its pipe connection is already weakened. If anything seems uncertain, stop and arrange a qualified inspection.
Tips: Photograph the connection before removal. Place a tray beneath the joint. Do not reuse damaged sealing materials. Avoid forcing a seized valve. After installation, a qualified person should perform an approved leak test with professional equipment. Never test for leaks with a flame. If the pipe shifts, smells strongly of gas, or shows visible damage, leave the area and contact emergency services or a licensed gas contractor. Local rules may require permits, testing records, or professional certification.
How to Install, Align, and Seal the New Gas Valve
How to Install a Gas Valve Safely in 2026?
A gas valve must be installed by a licensed gas professional, not through guesswork. NFPA’s Home Structure Fires report recorded about 346,800 home structure fires annually from 2016 to 2020. Poorly sealed connections can add serious risk. Before removal, the technician should close the upstream shutoff and verify zero pressure with a calibrated instrument. The replacement valve must match the fuel type, pipe size, pressure rating, and local code requirements. I still pause here. A visually similar valve may not be suitable.
Alignment matters after installation. The handle should remain accessible, clearly marked, and free from walls or cabinets. The technician should support the pipe while tightening the valve, preventing twisting stress. Use only a sealant approved for fuel gas and compatible with the connection material. Apply it to male tapered threads only. Flared and compression fittings usually seal differently. Forcing sealant into the valve can obstruct the passage. After tightening, the joint should be leak-tested with an approved detection solution and an instrument. Never use a flame.
Tips:
Keep the installation manual and inspection record. Photograph the final valve position. Ask the technician to explain the shutoff direction. If bubbles appear during testing, stop immediately and depressurize the system. CPSC data links gas-fueled appliance failures with fire and carbon-monoxide hazards, so ventilation and detector checks remain essential. A second inspection may feel excessive, but mistakes here are expensive.
How to Test for Leaks and Verify Safe Operation
How to Install a Gas Valve Safely in 2026?
Leak testing deserves more attention than the installation itself. Gas work should be completed by a licensed professional familiar with current local codes. Before testing, the supply must be isolated, ignition sources removed, and ventilation maintained. Never improvise with fittings, sealants, or tools.
A qualified technician should inspect every threaded connection, union, and valve stem. The approved leak-detection solution is applied to each joint. Watch closely for growing bubbles. Even a small bubble indicates a leak and requires immediate correction. Never use a match, lighter, or flame for testing. It is dangerous.
Pressure testing with a calibrated instrument can confirm that the system holds steady. The technician should then open the supply gradually and verify the valve responds correctly. The appliance should ignite smoothly, without delayed ignition, hissing, or an unstable flame. Turning the valve off must stop gas flow completely. A faint odor should never be dismissed.
I have seen people rush this stage. That mistake is understandable, but unsafe. If gas odor appears, leave the area immediately and avoid switches or phones nearby. Contact emergency services or the gas utility from a safe location. Recheck the work after operation, because a connection that seemed secure may shift slightly during startup.